Andrew Vilcheck
Chester County
Painting, Home Repairs, Pressure-washing, Drainage, Hardscaping, Landscaping, Chimney Painting & Repairs, Stucco and Masonry Repairs
Servicing Chester County
and Surrounding Areas
Register # PA 045291
Andrew Vilcheck
93 Chester Avenue
Coatesville, PA 19320
ph: 484-888-2326
agvilche
Small Retaining Walls for Flower beds
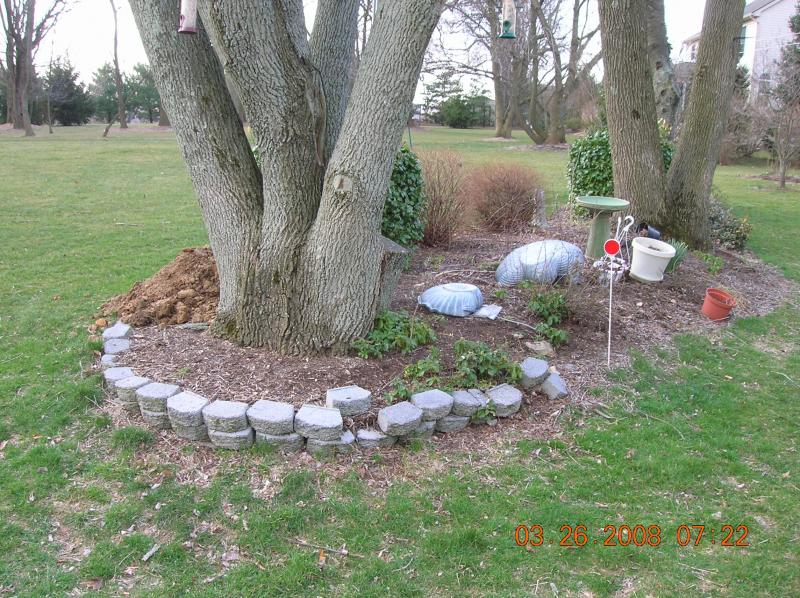
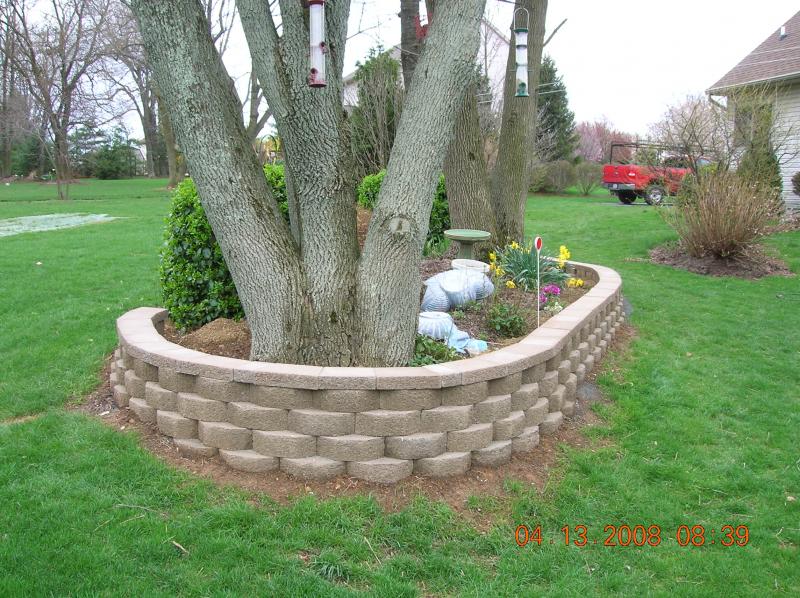
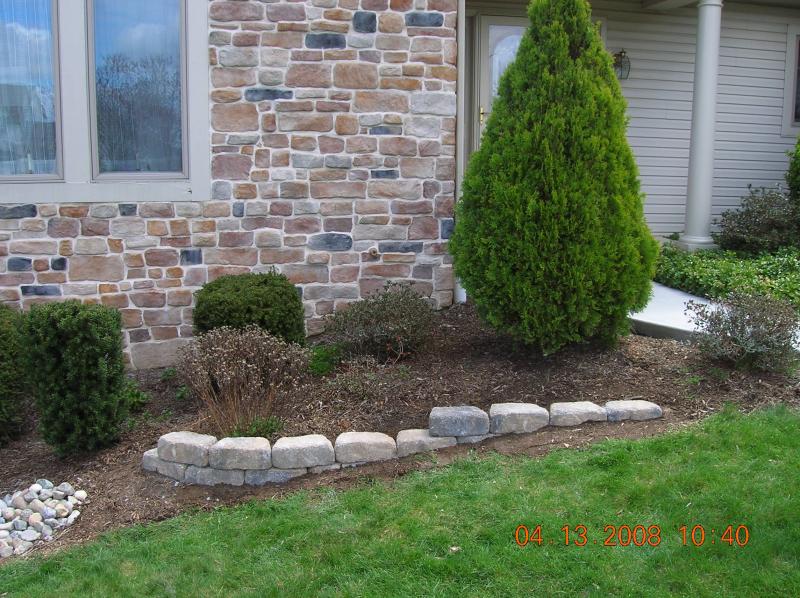
This bed has a small retaining wall that has become loose. It was replaced with one using larger blocks with a different color.
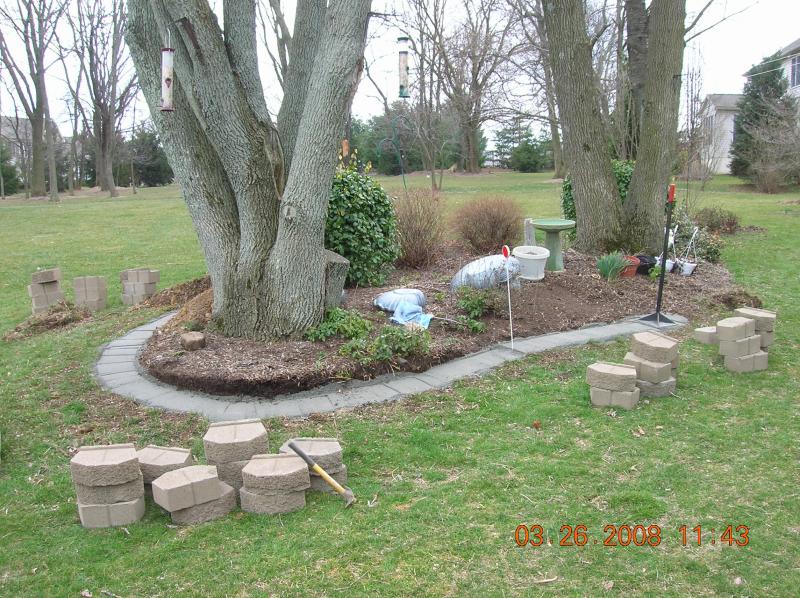
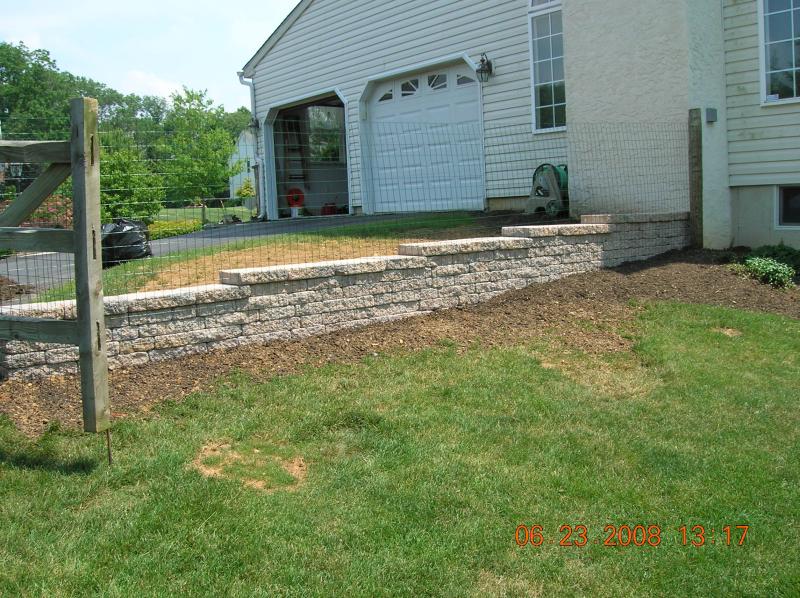
The old blocks were removed. I tamped in concrete sand and or rice stone for the base. There less chance of sinking over time. The new blocks are 12" (tan castlewall) retaining blocks, a Home Depot product. They were set using a ballast mallet also called a (dead blow hammer). Work began at the lowest part of the foundation and was built up.
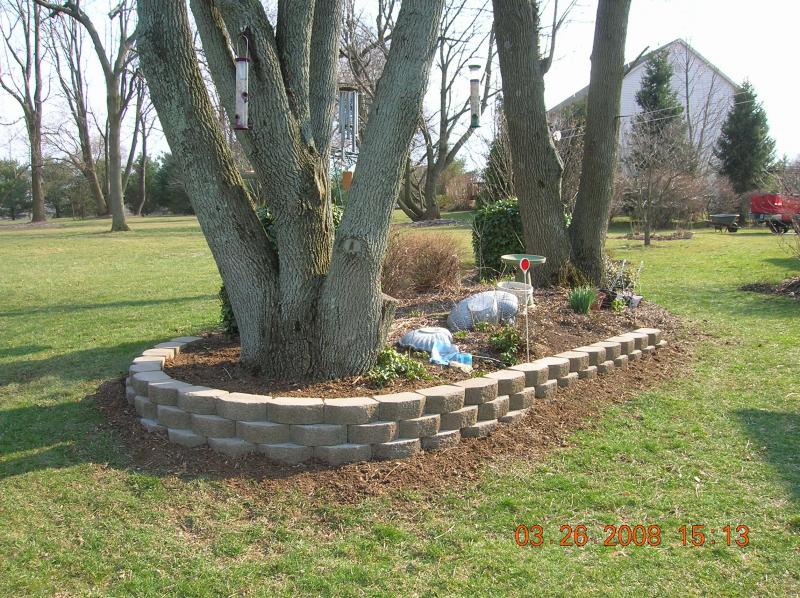
If the first row is set correctly, then other rows sit level. The customer wanted the work extended to the other end of the bed. Capstones added over the whole structure.
Blocks will be added to the pre-existing work area (left) to the right. side of the bed. The back side was to remain open. After extending the wall over, capstones will be cut on a wet saw and glued into place using block adhesive.
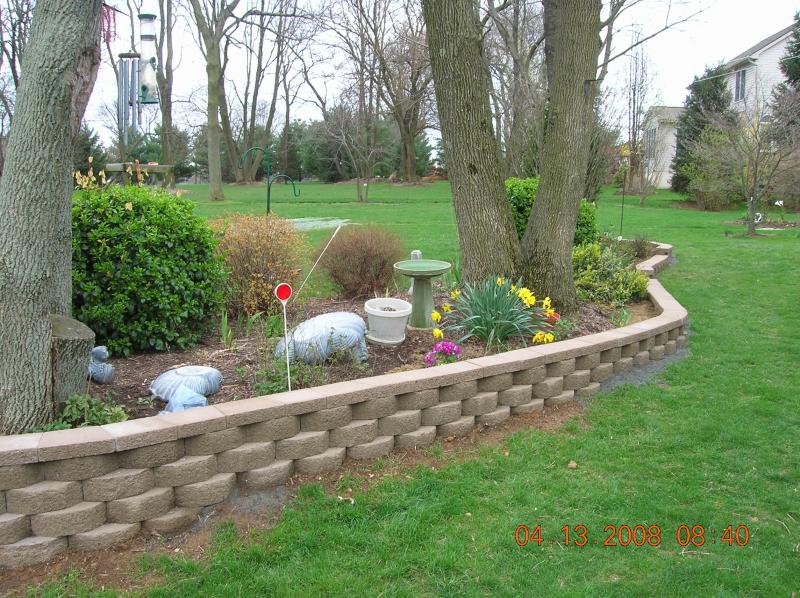

When the wall was finished, any area with stone screenings exposed had topsoil applied over them.
**************************************************************************
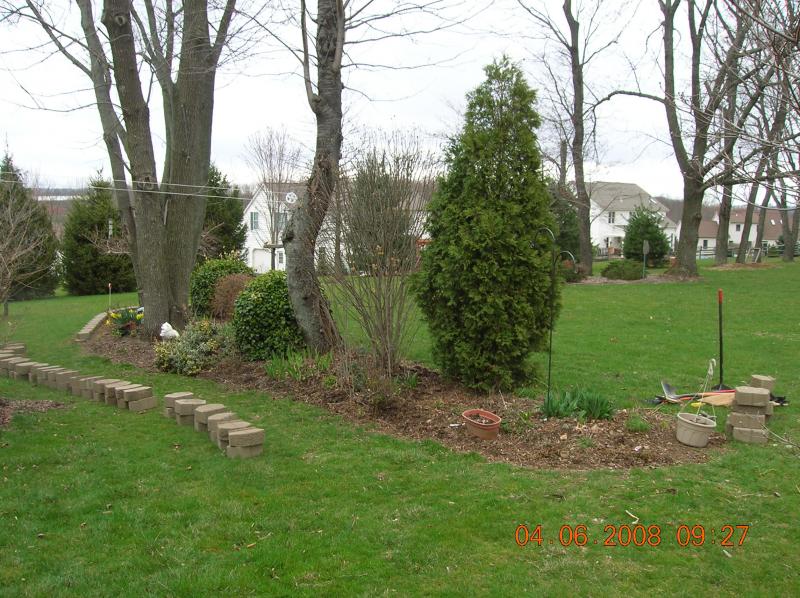
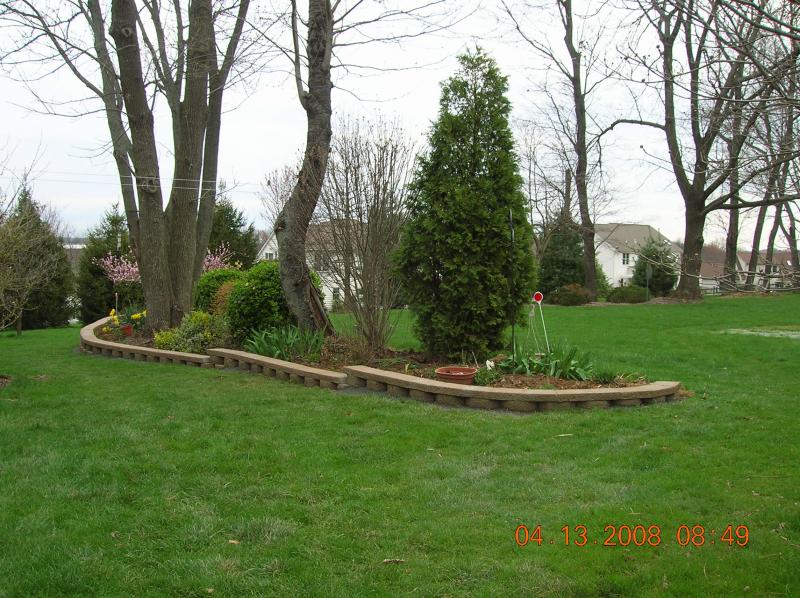
I built small retaining walls to prevent mulch from washing away and to accent the border.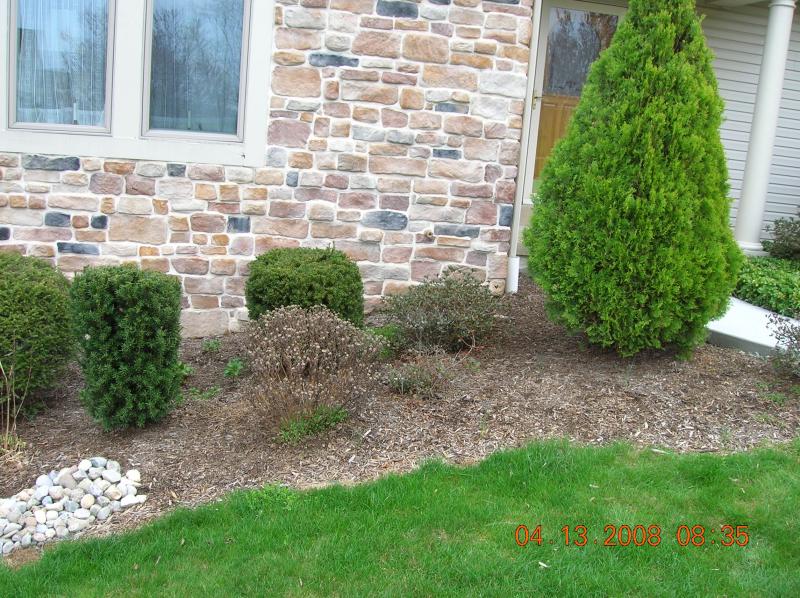
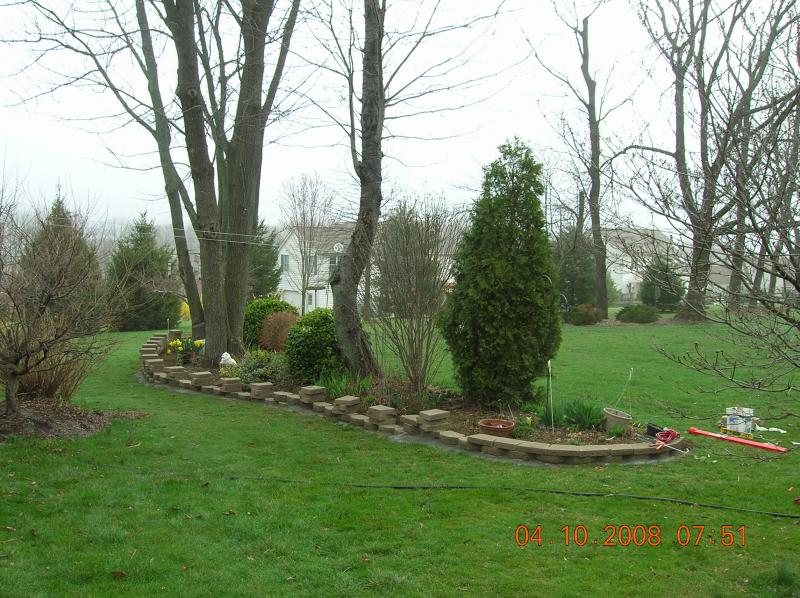
This photo shows a very short stretch that could use a little character.
***************************************************************************
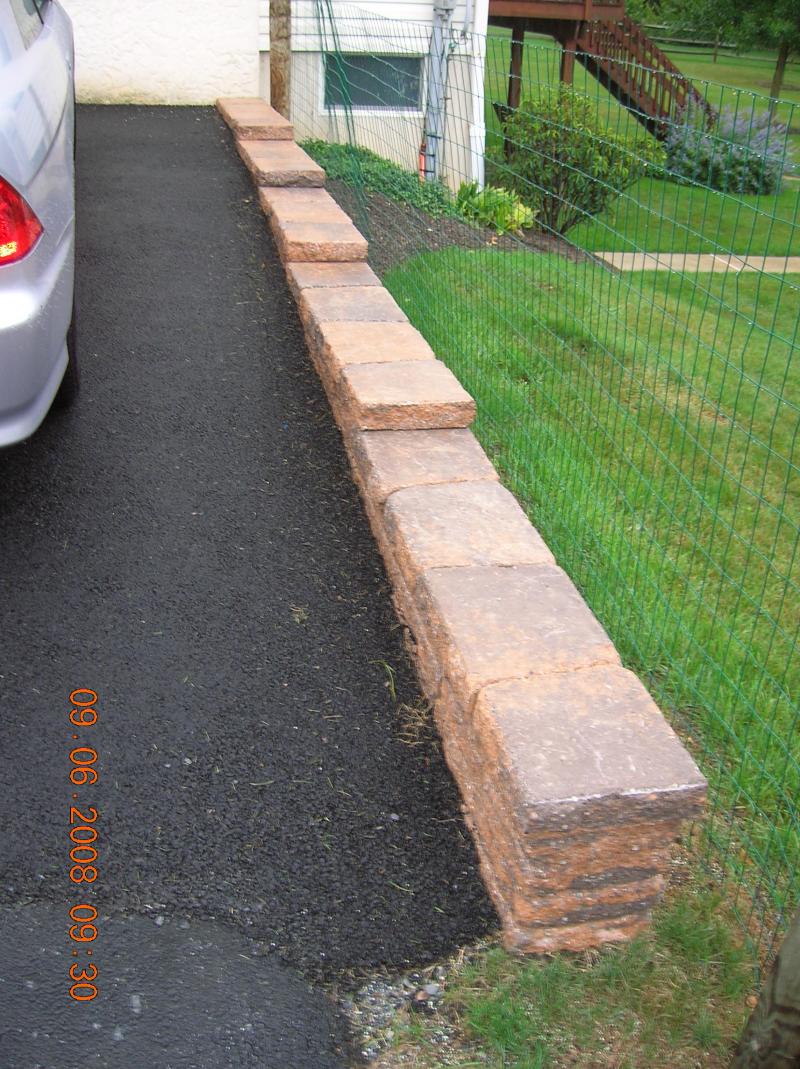
Another job required a small wall built so that the driveway could be extended up against it. I built the wall with rebar supports to hold back the weight of the asphalt.
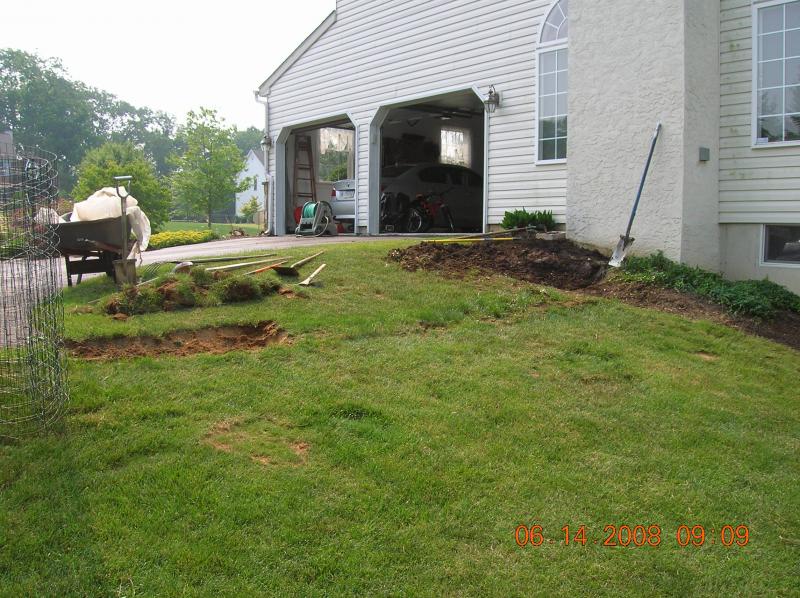
The ground is excavated for the foundation and holes made for the rebar supports. After the supports comes the sub-base.

The blocks are set with the rebar going through their center. There is no chance they will move due to force.
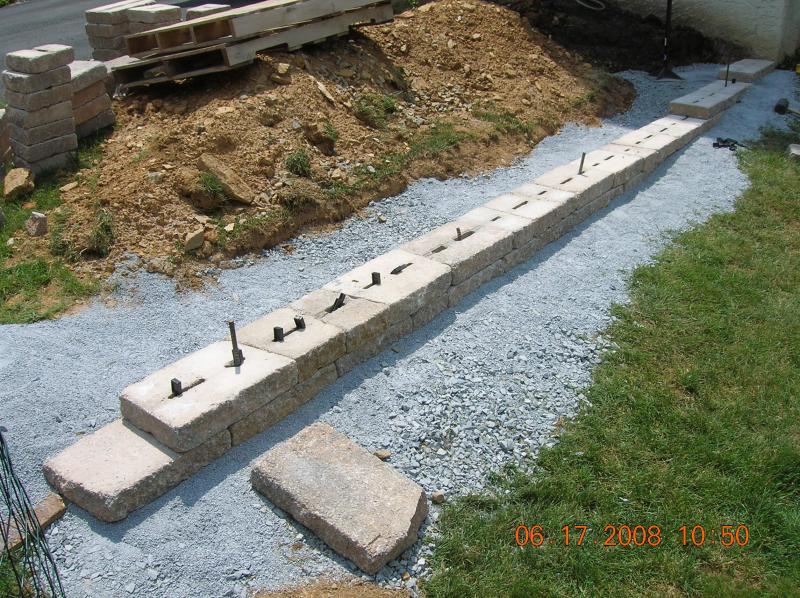
The blocks are carefully placed so that they are level and overlap. Small plastic pins are used to prevent sliding between block layers.
After the wall was finished. The driveway was later expanded over to it. The owner added his own touch by putting a fence on the lower side of the wall.
Andrew Vilcheck
93 Chester Avenue
Coatesville, PA 19320
ph: 484-888-2326
agvilche